Exposition
Having a Red-eared slider as a pet isn’t as simple as one would believe. Sure, they are cute when they are just 2.5 cm in length, but they live long and grow big. Mine is about 17 cm in length and somewhere above 35 years old. Don’t know the exact date, my parents bought her around the time when my sister was born and that was before my time. In any case ever since I could remember, I have been taking care of her. In this last 20 or so years I have learned a lot about her, but for the purposes of this post there are only a few things of note. She is extremely stubborn, dumb as a rock and does not consider me as a treat on any level never, ever at all.
As a female turtle she will get the urge to lay eggs a number of times each year. To lay the eggs, as a caring mother, she would search for the perfect egg laying location. Dig a hole, lay her eggs, then spend about as much time she did digging, hiding the evidence. We live in a flat, where for obvious reasons there isn’t any dirt to go around. She does not have a terrarium, because for her size that would have to be unreasonably huge. So as a best effort I let her walk around each day on her own. This is when she would spend all the time sniffing and scratching all day, trying to find the spot. Now this is pretty painful to watch as such an egg laying rampage will last until she succeeds, during which time she will barely sleep and focus all her energies on laying those eggs.
First I have tried to mix her some soil for egg laying in a big basin and see what she would do with it. She would not care at all. Followed a number of online recipes of using x amount of sand, y clay etc. and it never worked. As a last resort I went down into the nearest park with my basin, and like some new age hobo started gathering dirt into my basin. Hydrated it a bit, and she didn’t hate that. Great! But, she still wouldn’t lay her eggs in there. Not sure why. Whenever I put her in, she would just up and leave after sniffing around a bit. It’s like unless she finds the spot herself its no good. Bafflingly she would try to dig a hole into ceramic tiles relentlessly, but not into the dirt basin.
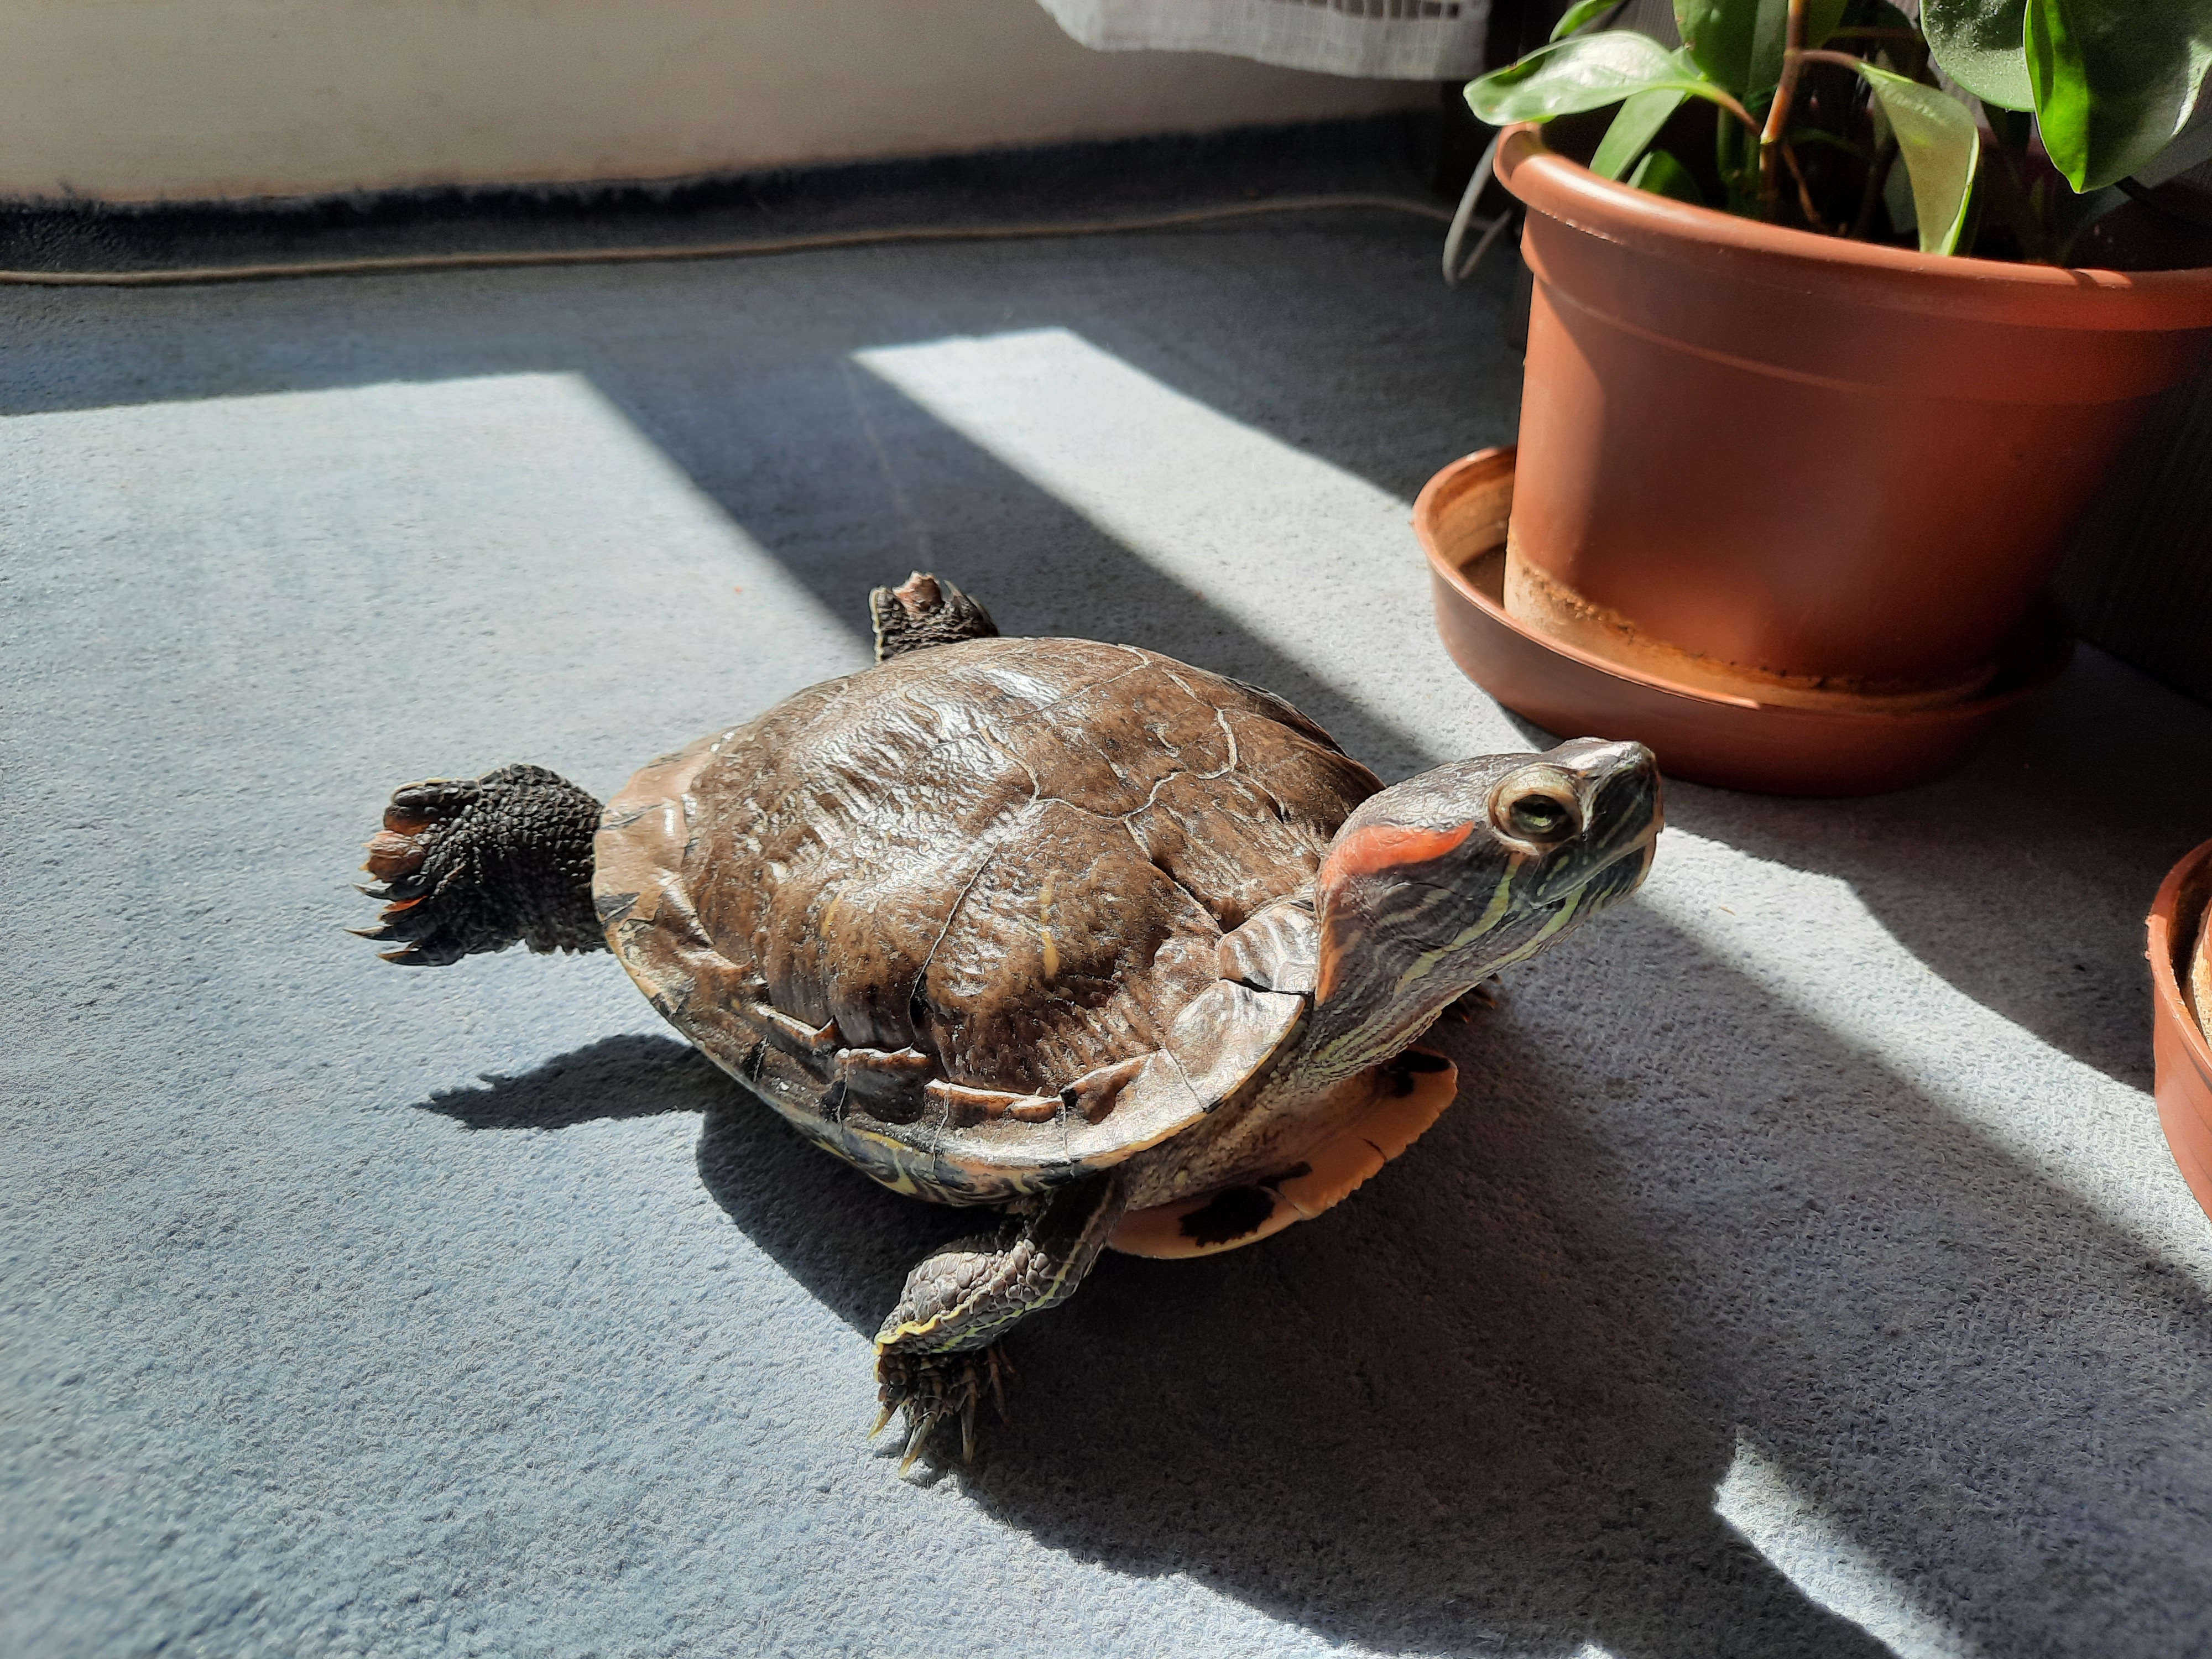
Sissi
Thankfully, since we have spent so much time together I can do practically anything with her, and she will not be disturbed in her doings. This means that when she starts her digging protocol in the kitchen I just literally pick her up, carry her a few rooms away and put her into the dirt basin. Then she would freeze for a moment, then as remembering she was digging, she would start digging again. This “pick and place” action works even better if I prepare a nice little starting hole for her in the dirt.
Problem
The dirt basin is somewhere 20 cm tall, and as it was said she isn’t the brightest of creatures so if I don’t cover around the basin with something cushy, she would eventually find the edge and jump out of the basin right there, crashing into the concrete floor. (Seriously I have no idea how these creatures survive in the wild. Not once have I put her onto an elevated position of about half a meter, and she would look down, contemplate the abyss for a moment and jump. Of course, I have caught her each time.) So I needed a ramp and the ramp I could fashion all those years ago was made from cardboard pieces and an old bathroom mat. This would be good enough that she could crawl in/out, but would never last long. She could always erode the structure quite easily forcing me to readjust it.
It would be nice to have a ramp, that lasts.
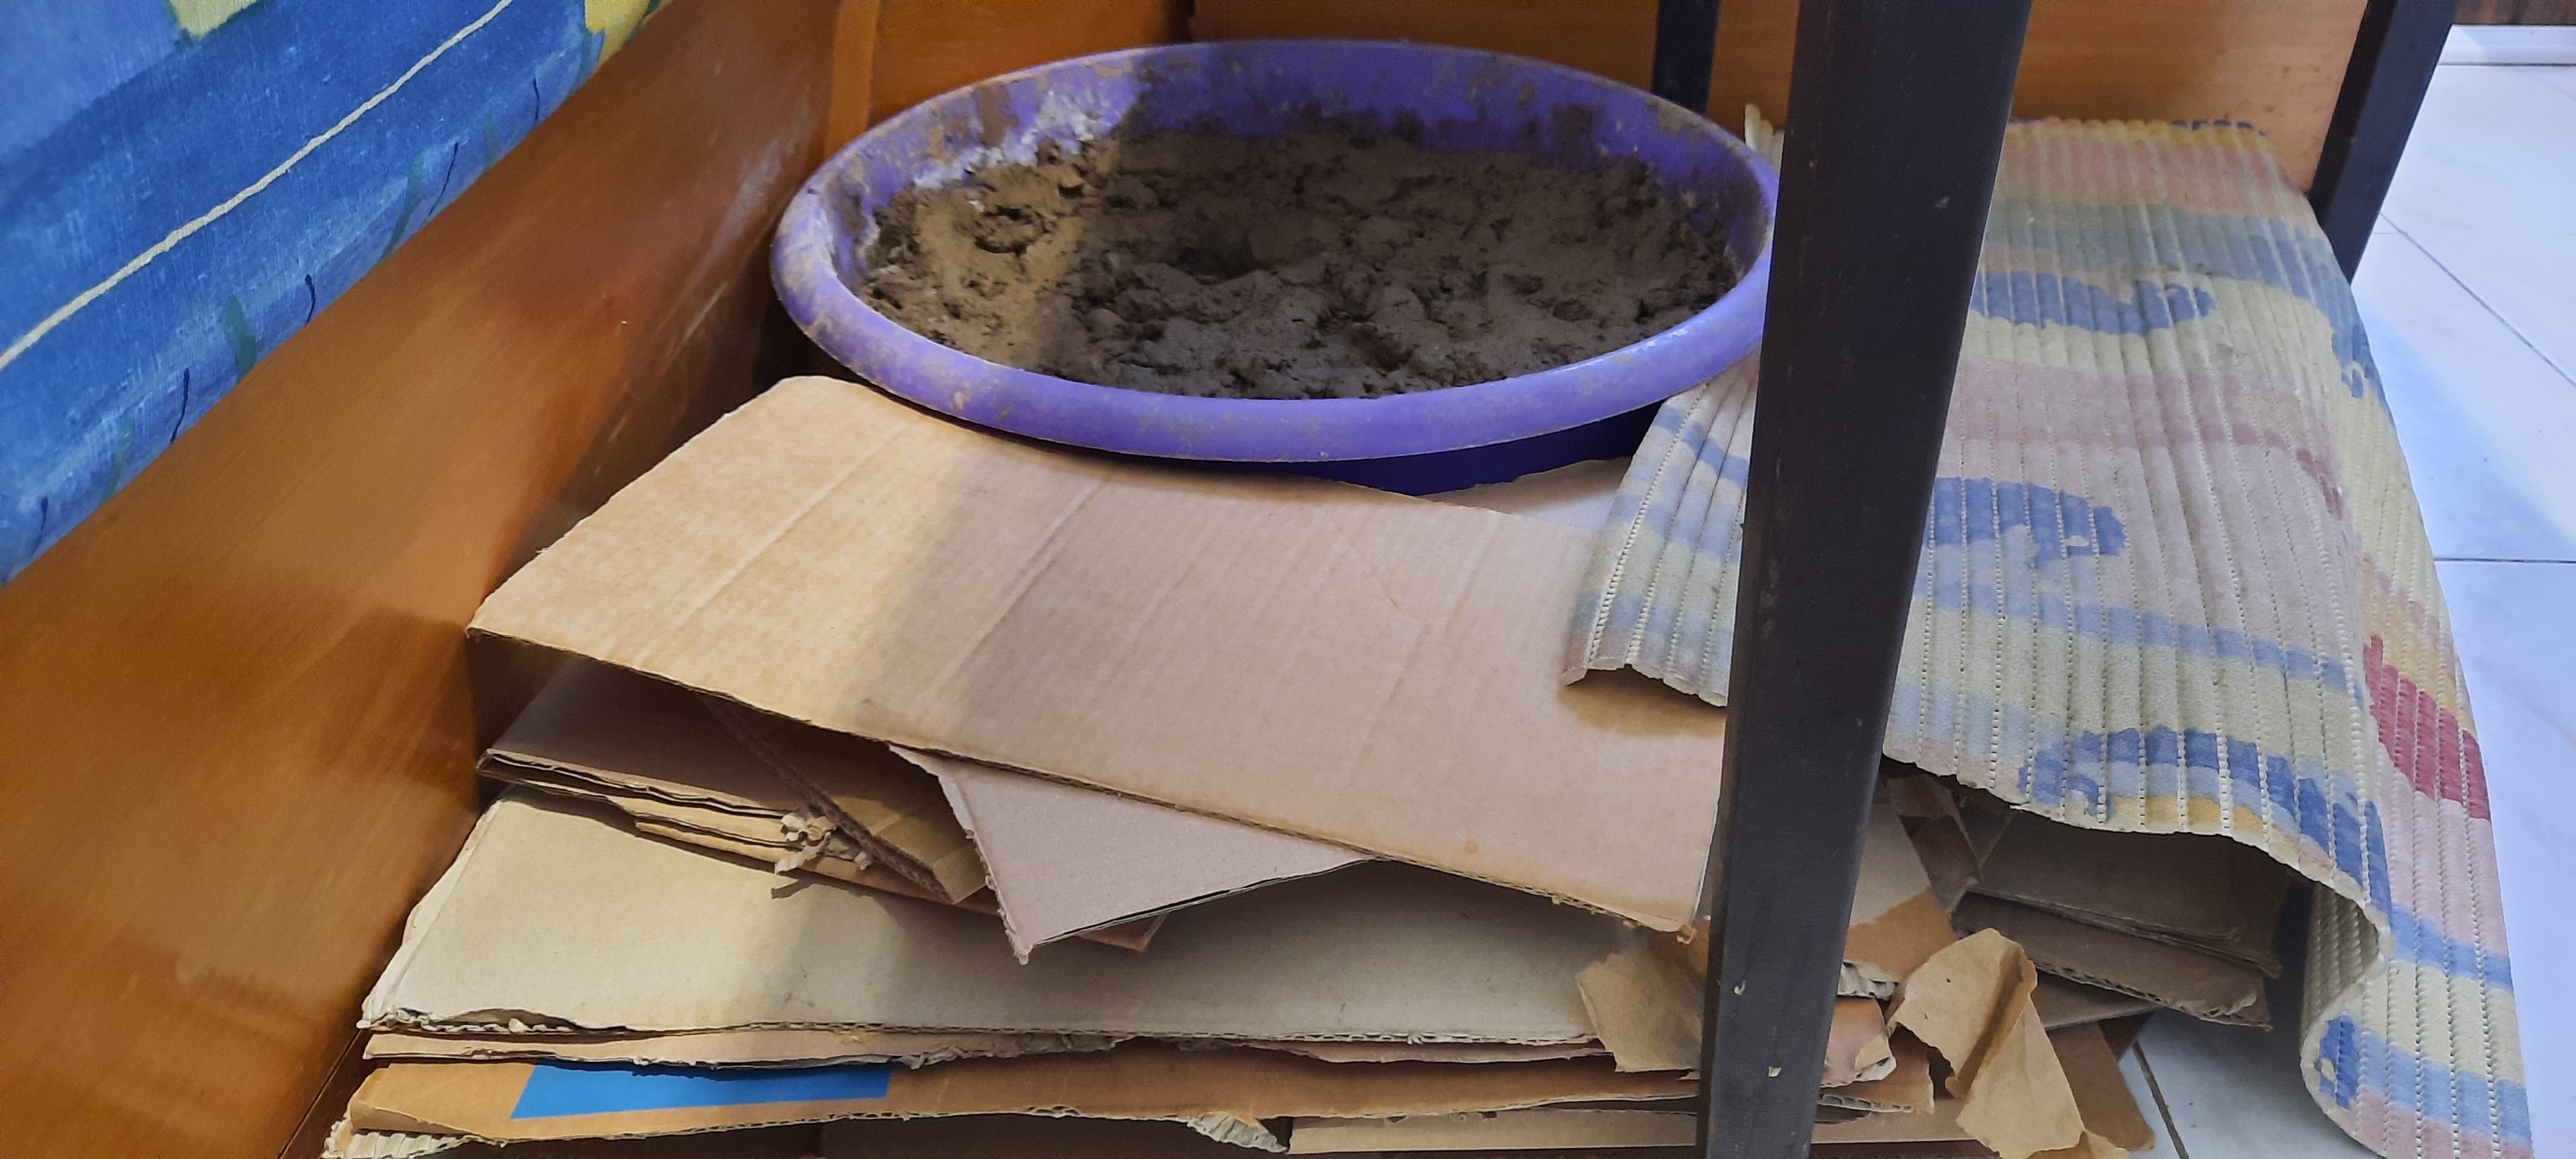
Old setup
Design
The design wasn’t anything special. After measuring the height and the diameter of the basin, there was just one decision left to make. How steep should the angle of elevation be, and how long of a piece can I manufacture? The diameter was 475 mm, height 150 mm, and it would be nice to have the slope at about 25 degrees. That is mild enough, so she can comfortably climb it. As a lazy person my first guess was to have the ramps length at 300 mms, nice whole number. With that we would have an angle of elevation of about 26 degrees, which is good enough. My printer area is 200 mm * 200 mm * 200 mm, so the final piece has to be cut into two parts.

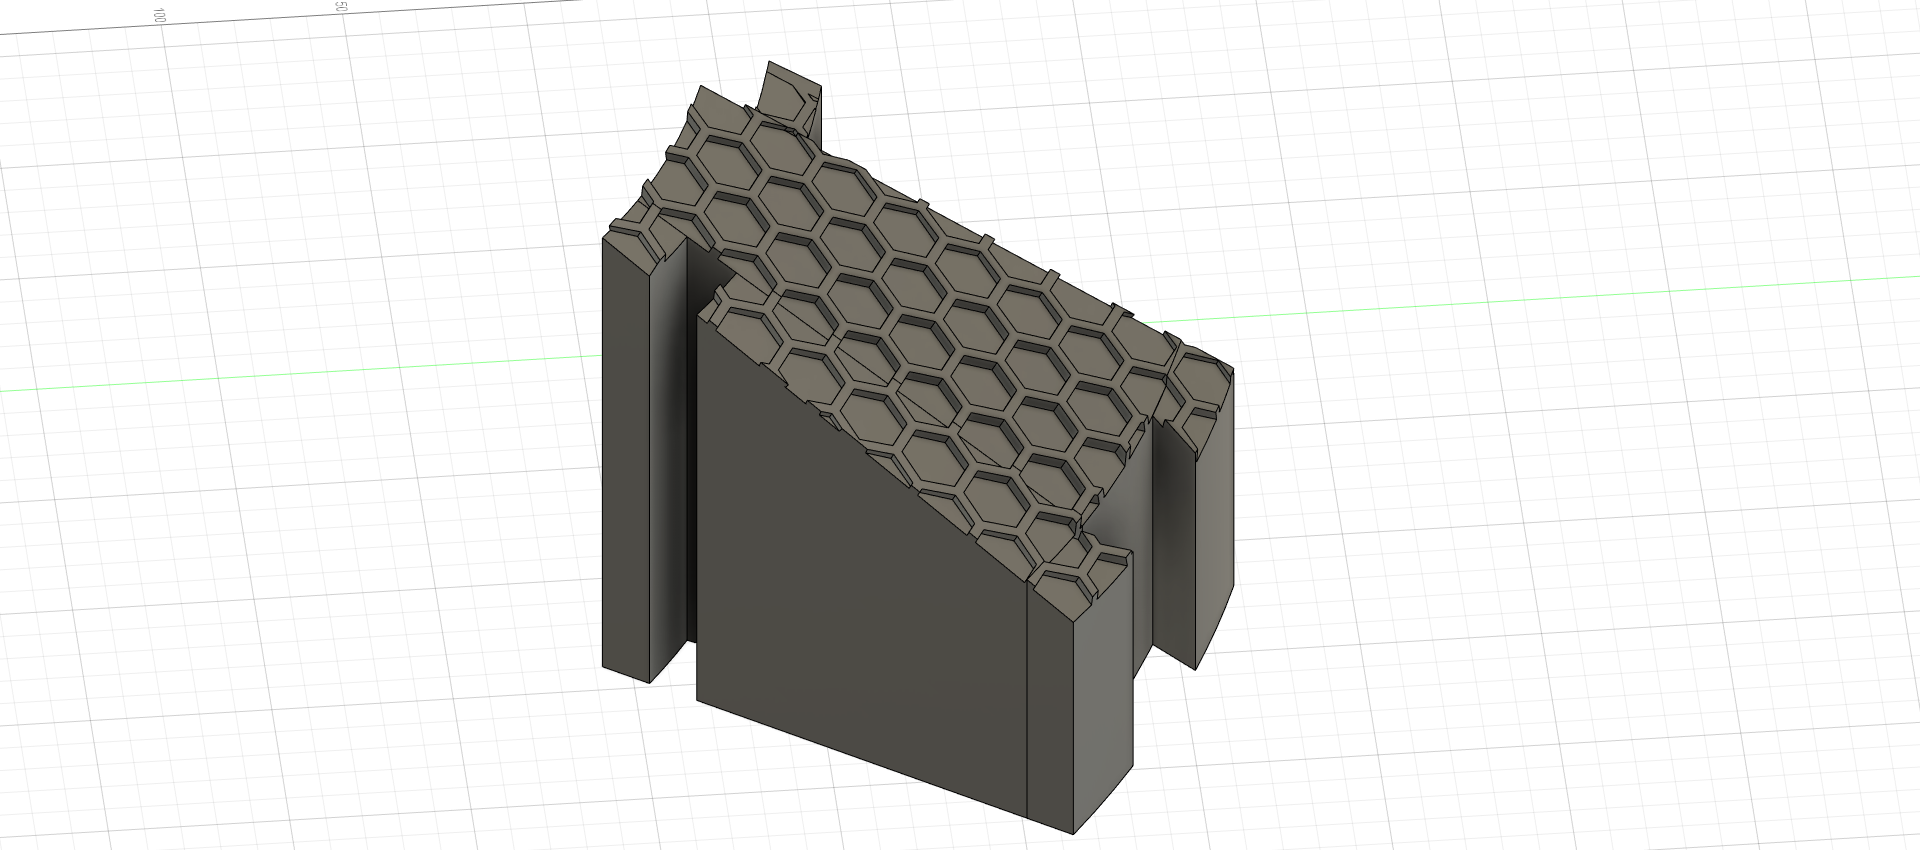
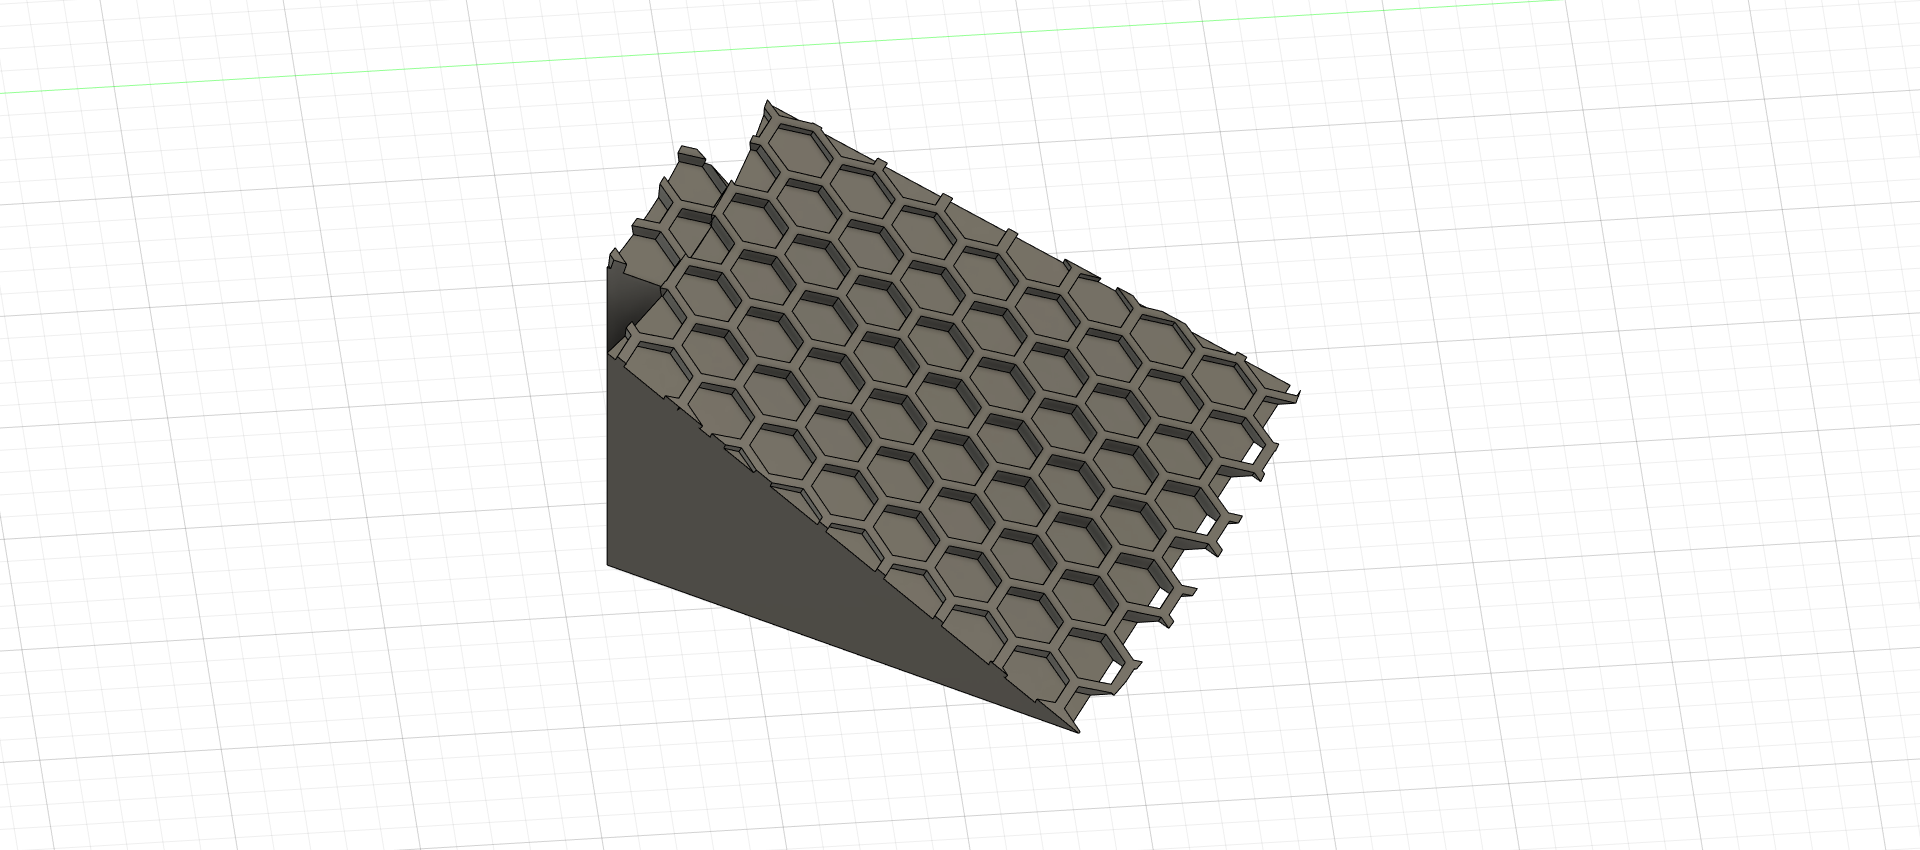
Ramp design
Added the little hexagon pattern to the surface so that she would have ample surface to claw onto.
There was one mistake made in the design, for which the effects you can observe by inspecting the depth difference between each hexagon. This is because in the beginning I have used the Loft operation to generate the starting shape.
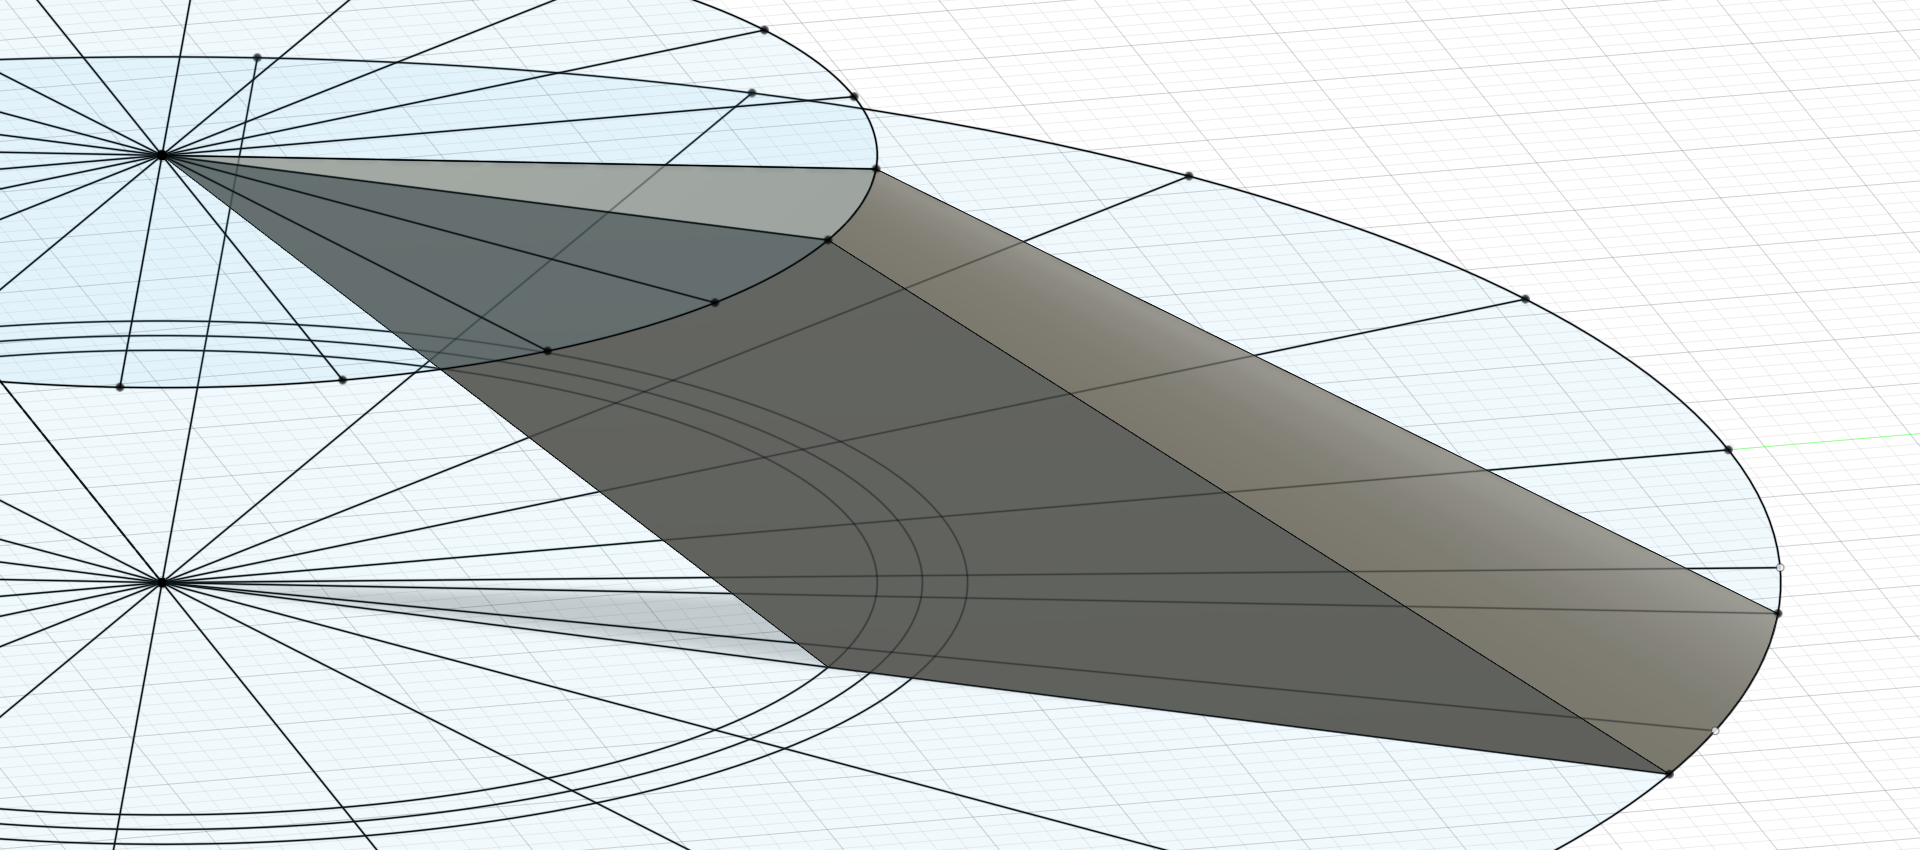
Loft operation result
This operation generates a smooth transition between two surfaces to make the final object. Meaning that the ramps top surface had multiple curvatures generated into it. Fusion 360 has a nice operation called Emboss, which could have made a perfect hexagonal pattern with equal depth, but it doesn’t work if the surface has multiple curvatures. Modelling takes a long time to me, so took the quicker route and simply laid out the pattern parallel (generally speaking) to the surface and removed some material until the pattern was visible everywhere. Not the best, but better than restarting the whole thing.
To print it, the model was cut into two pieces, and to hold those pieces together I have made some puzzle like joints onto them.
Top piece
Bottom piece
Printing
The printing went mostly without issue. This design is simple enough that it can’t really go wrong. The only problem is that the pieces are big, and I needed a lot of them to be able to cover some area. So some pieces were printed using PLA, some using PETG, whichever was available. For one of the pieces the filament ran out midway. Lucky I was there to substitute another reel.
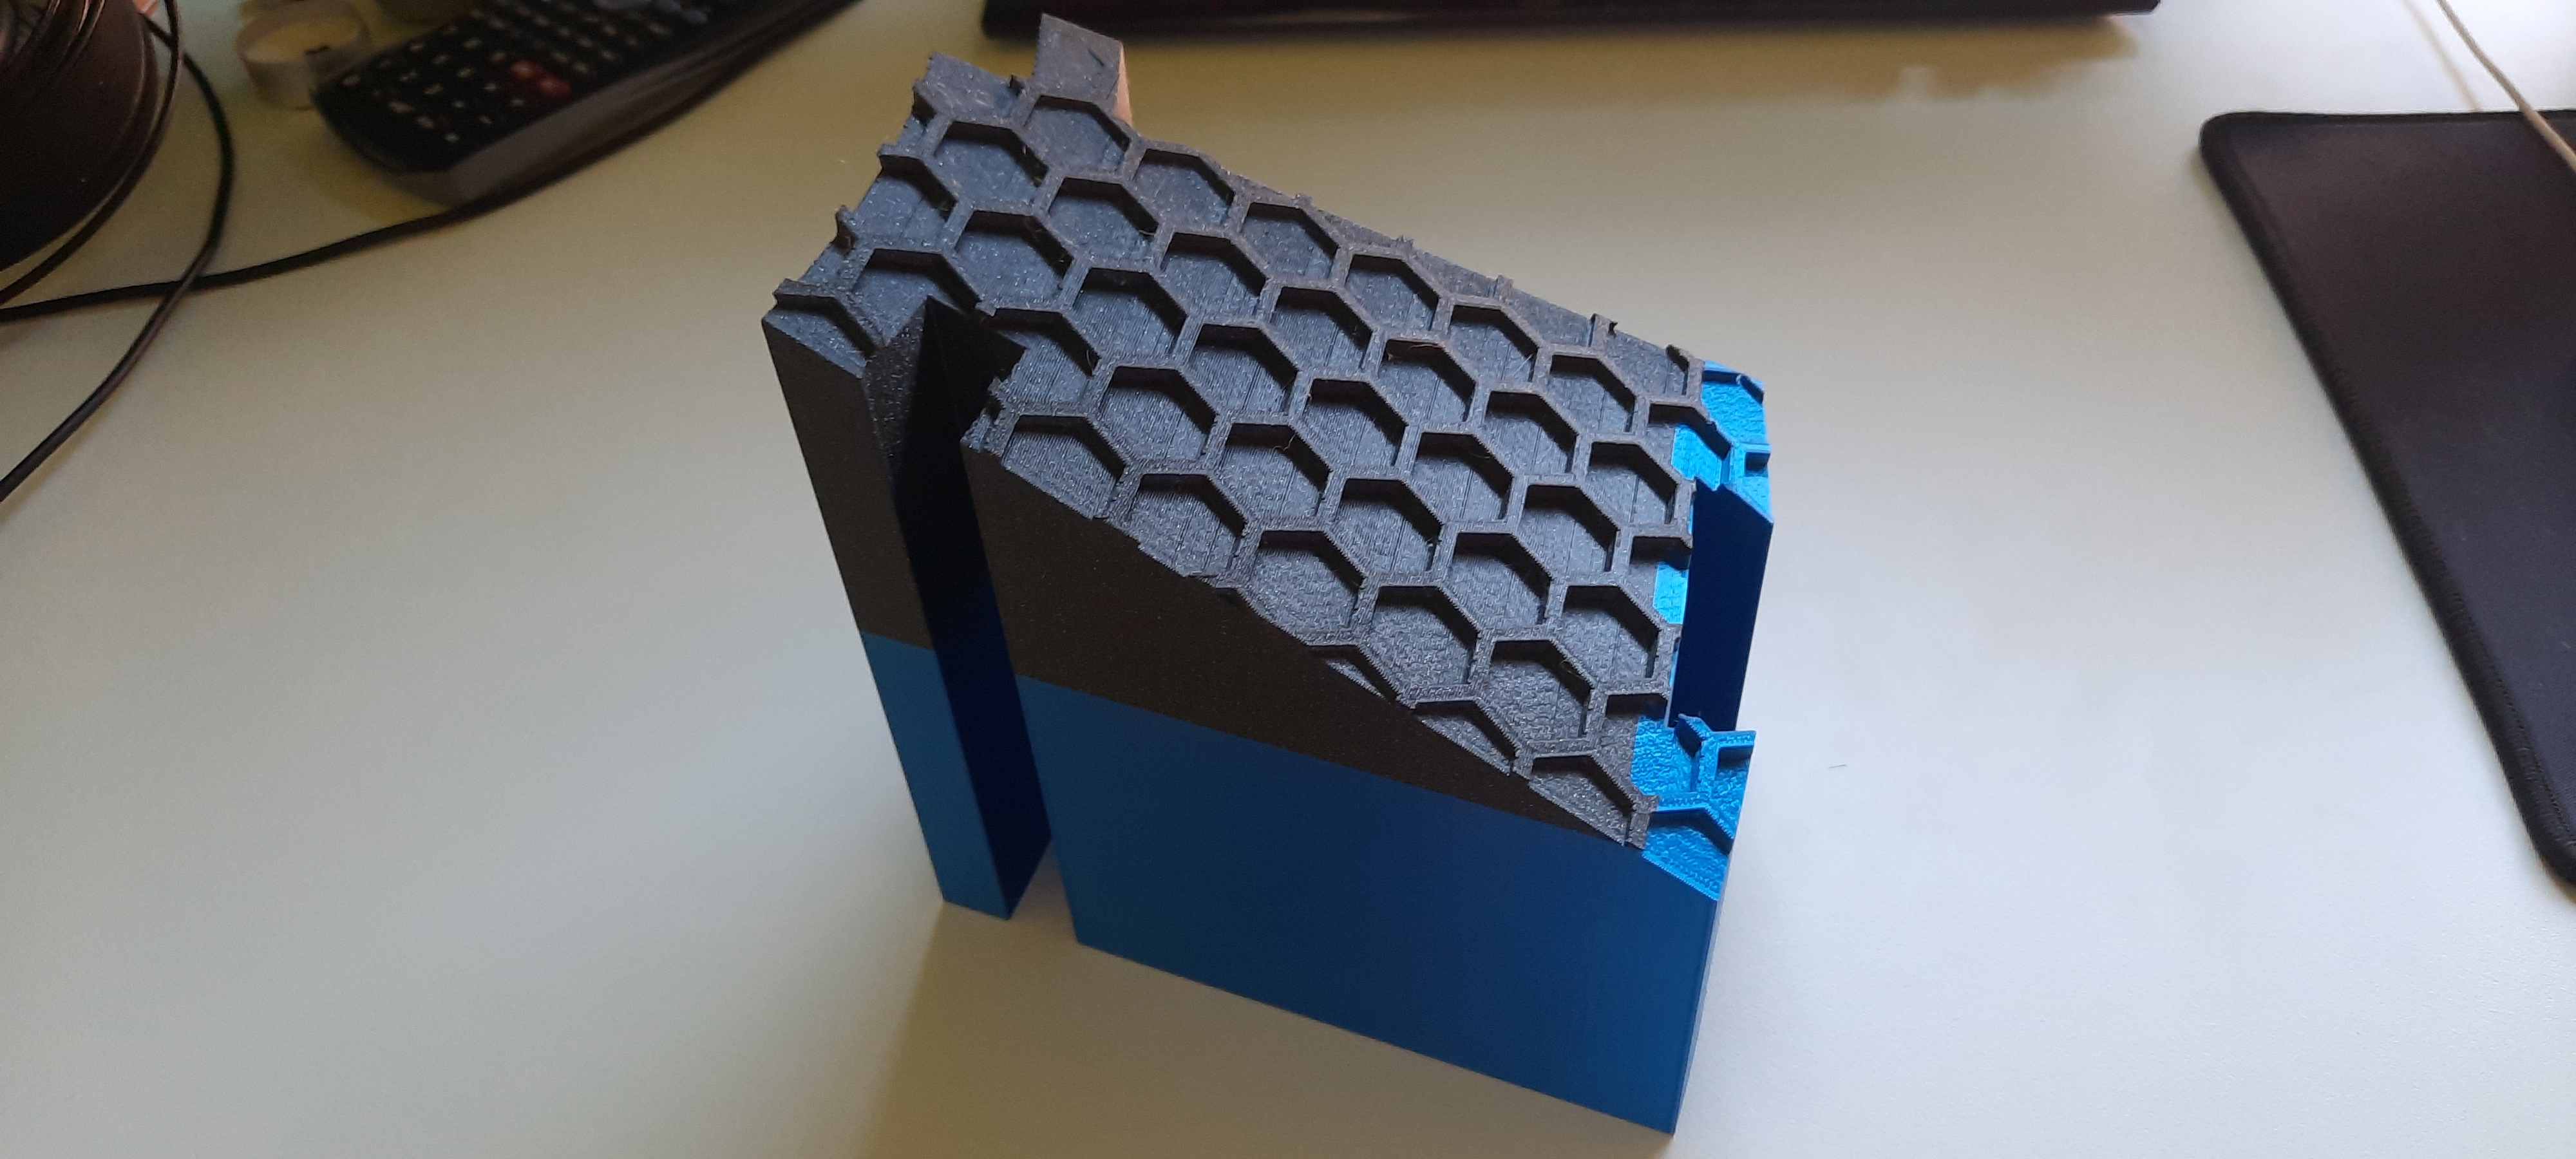
Top piece
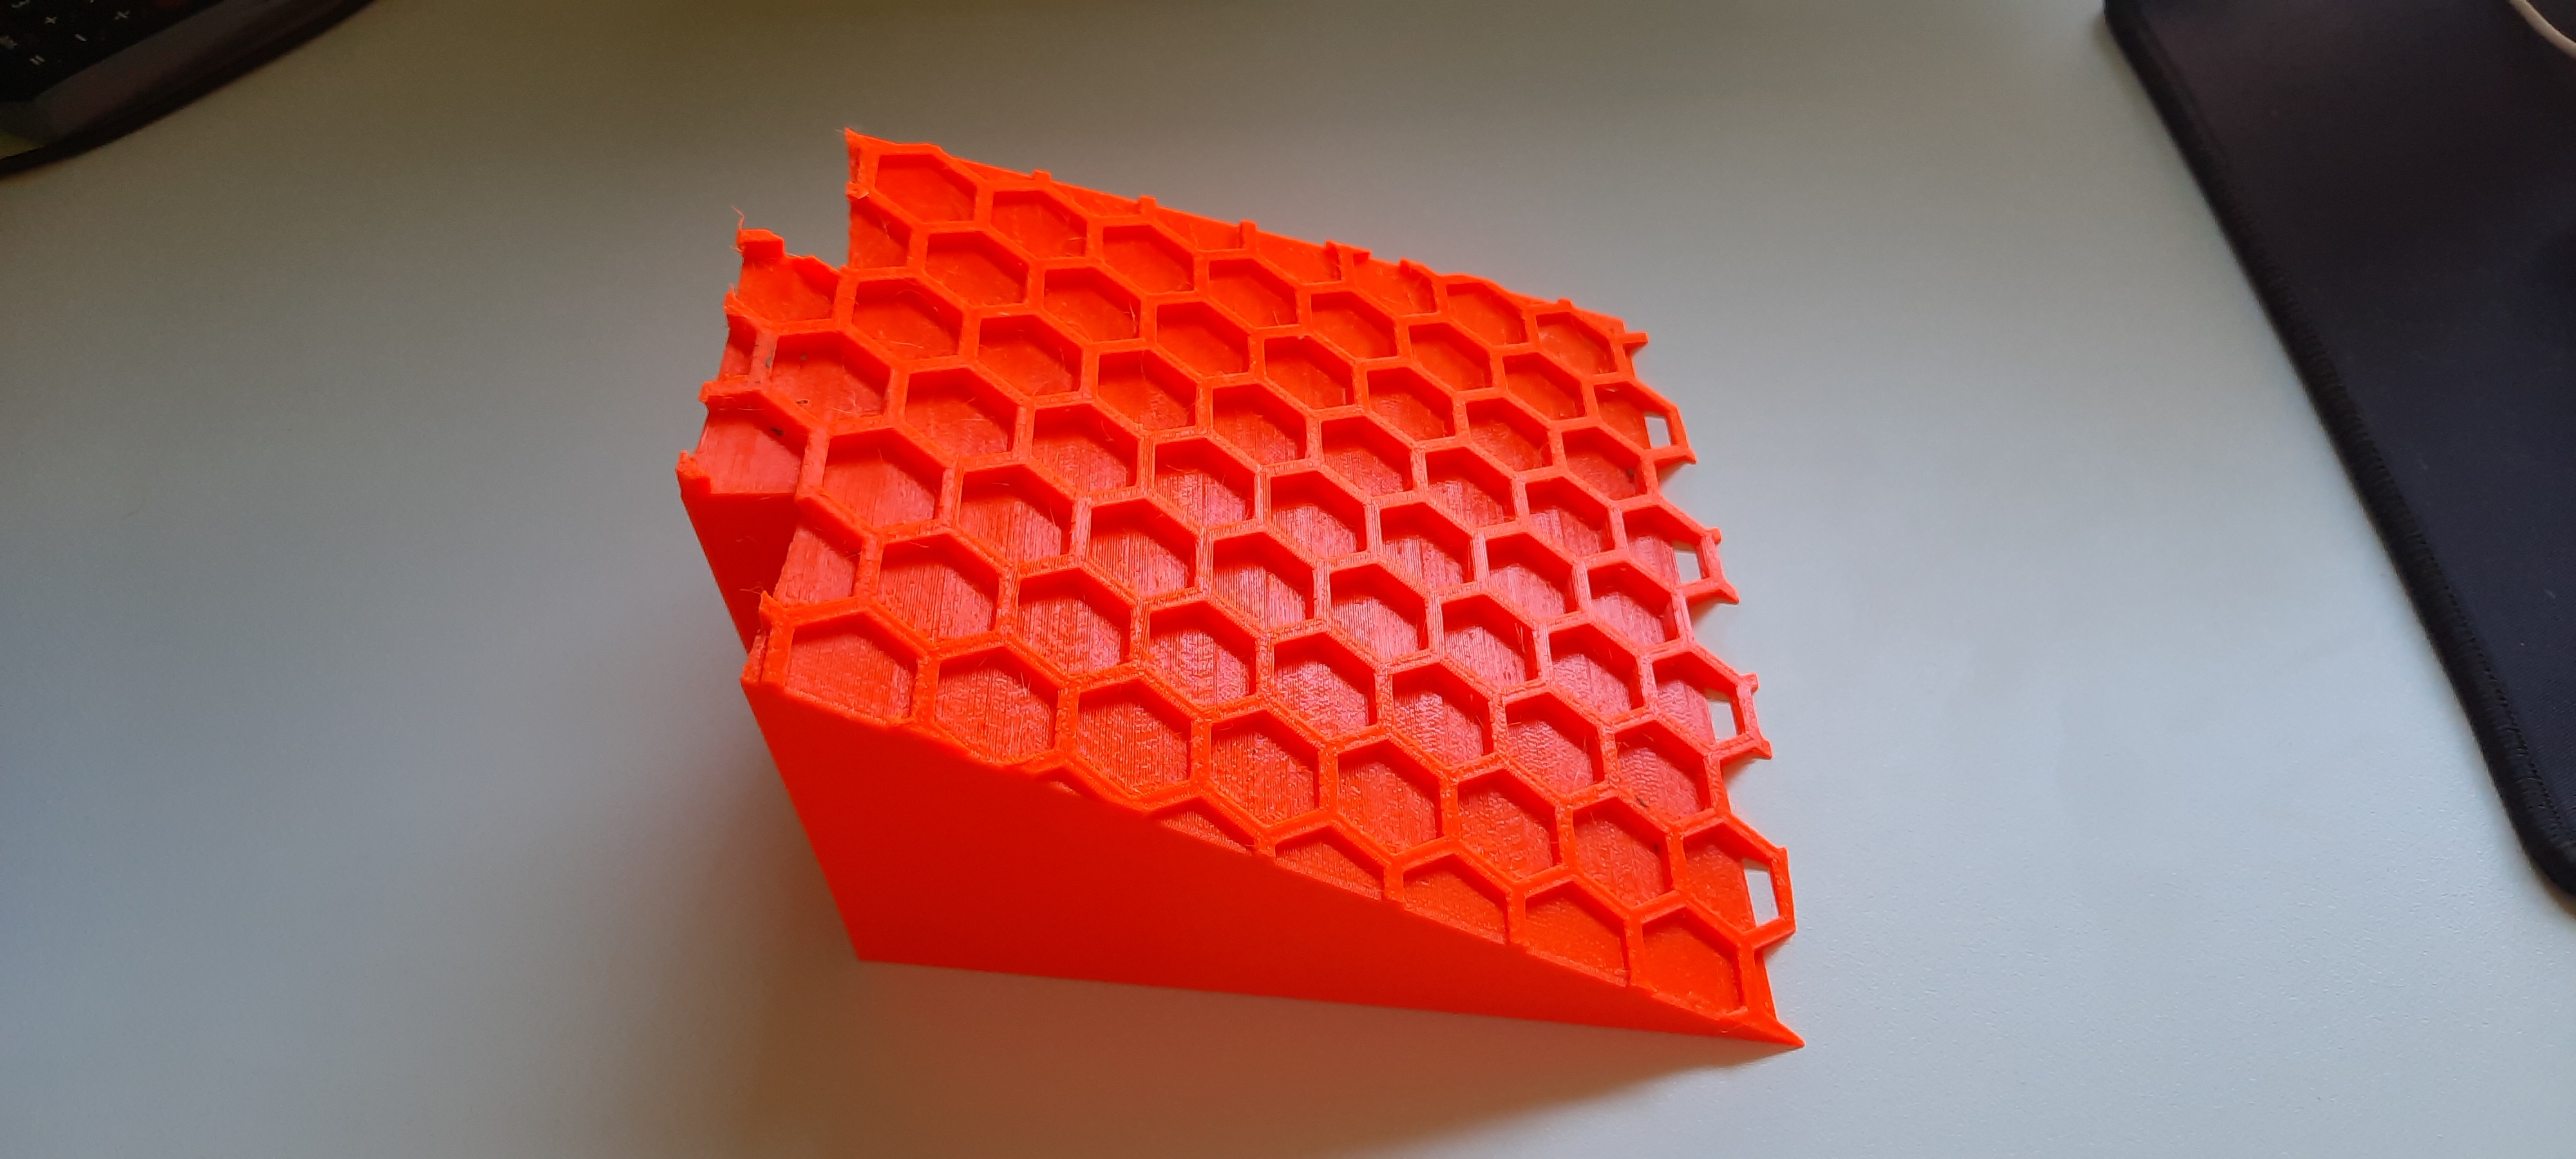
Bottom piece
As I have made a number of these pieces I have experimented with 0.4 mm nozzle and 0.8 mm one. Not surprisingly the bigger the nozzle the faster it goes. For the 0.4 one the top piece would take about 8 hours while for the 0.8 one it would be around 5. All in all the printing of all the pieces took about a week to do.
Conclusion
With the below setup, we covered about half of the basin. The rest still needs to be covered by the old method so that the little free diver can land on something.
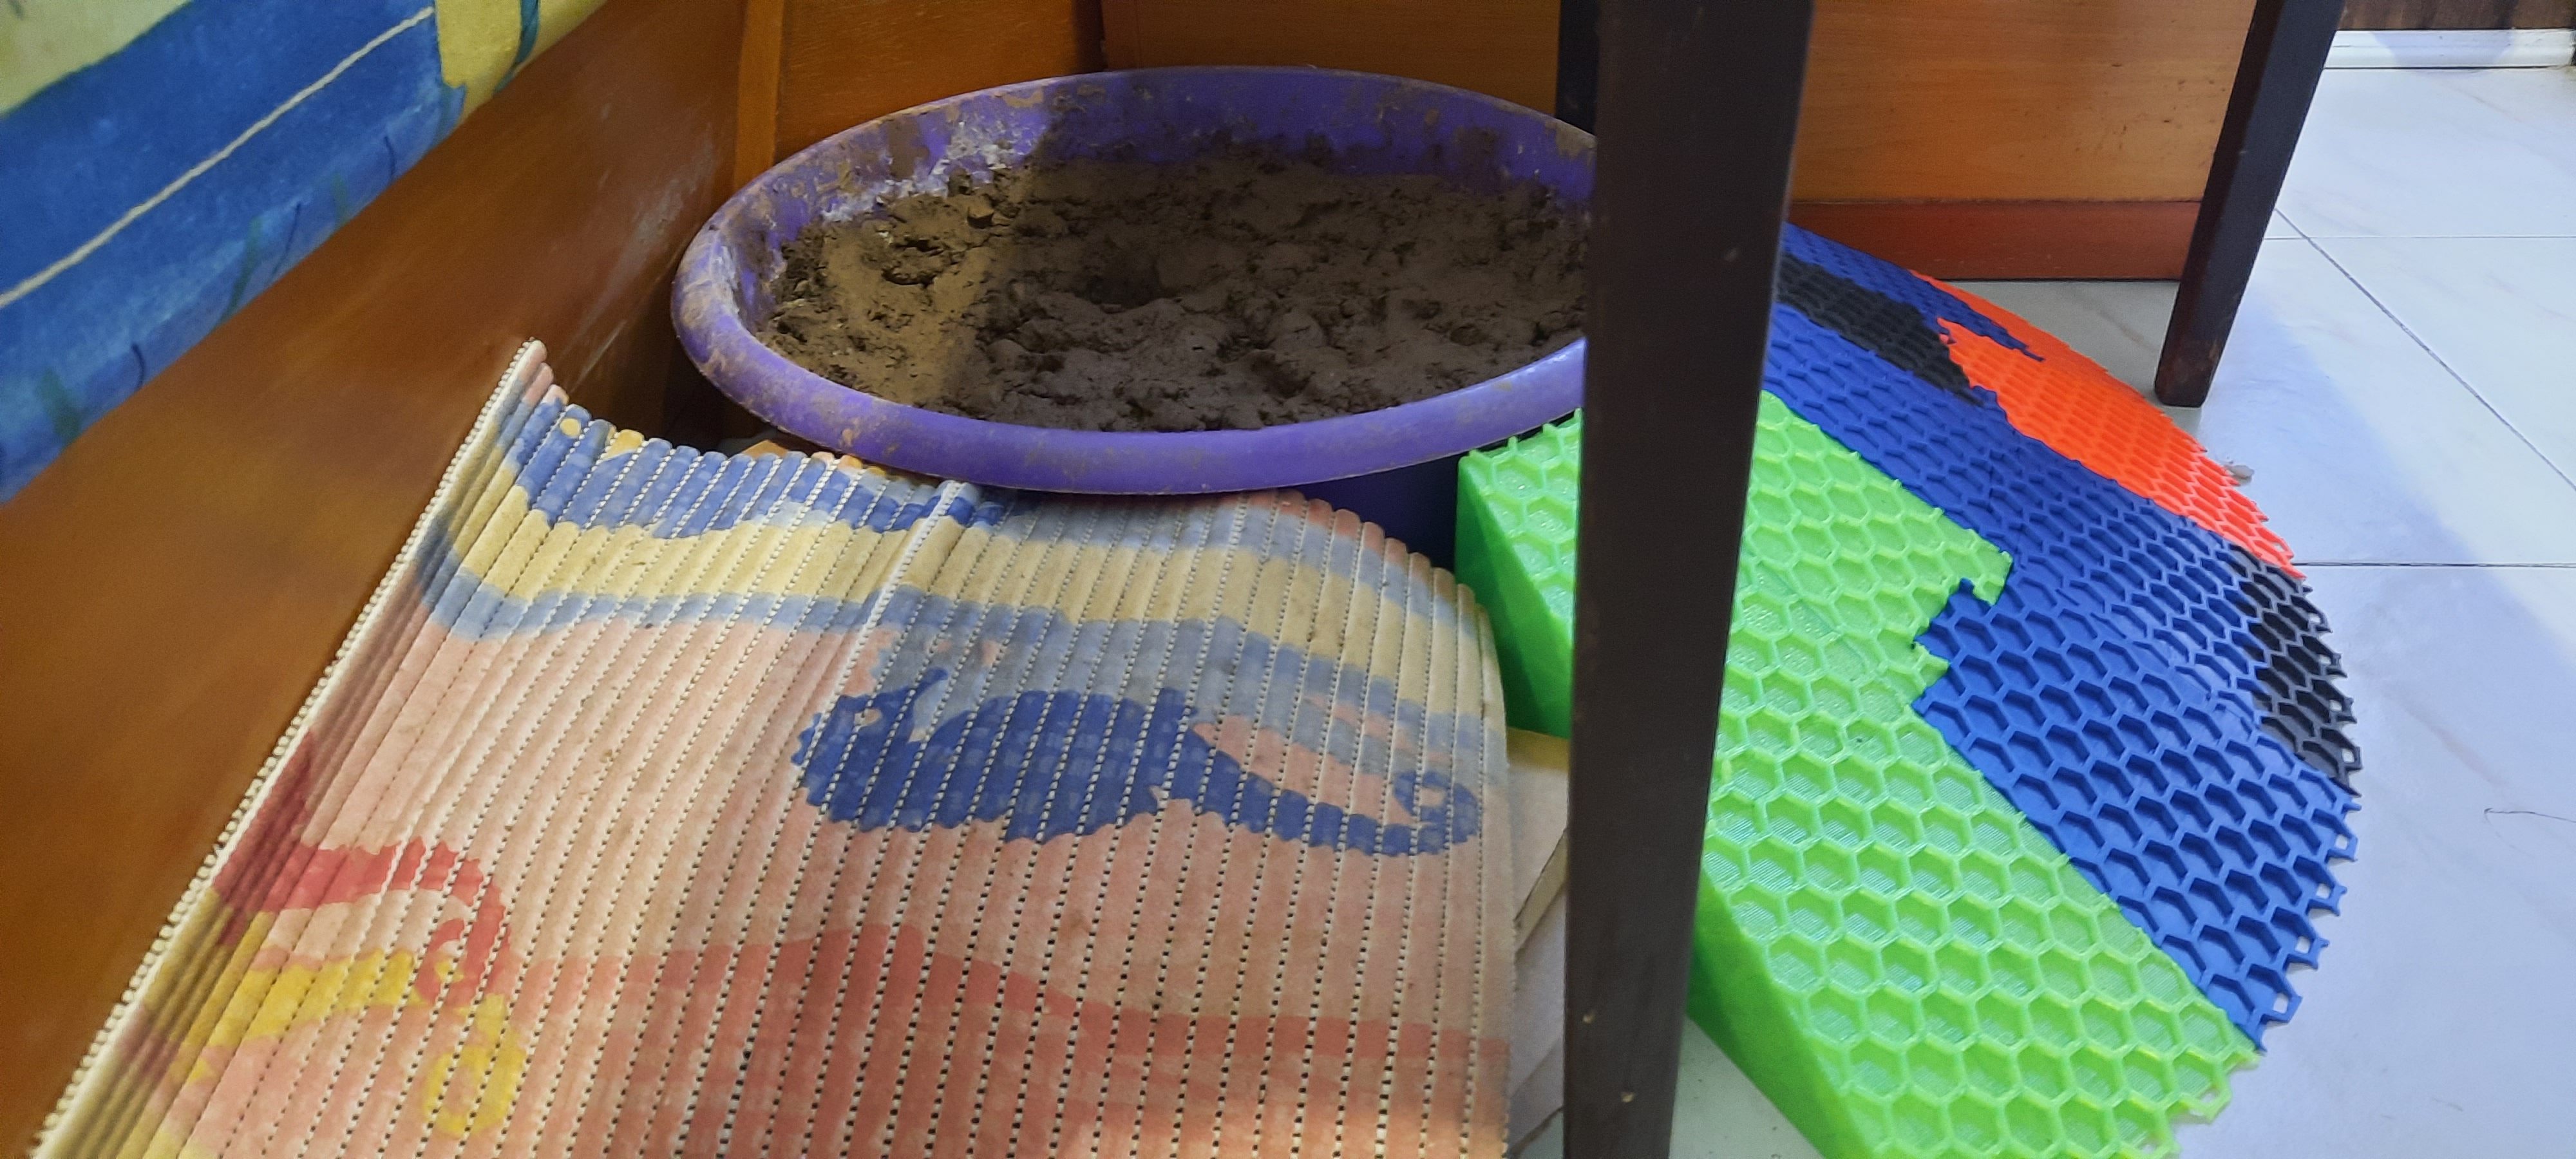
New setup
Not sure how it works just yet, because by the time I have finally finished it, she was done with the egg laying season. Will see how it turns out next year.
Files
Fusion 360 files: turtle_ramp
Egg laying action
If you are interested and got this far as a bonus I have some footage of her digging and covering up the whole in the basin.